Create floor finishes from Revit rooms
Create Revit floor finishes from room boundaries and finish parameters. Watch Adarcus model oak and porcelain finishes in eight example rooms.
When this case is useful
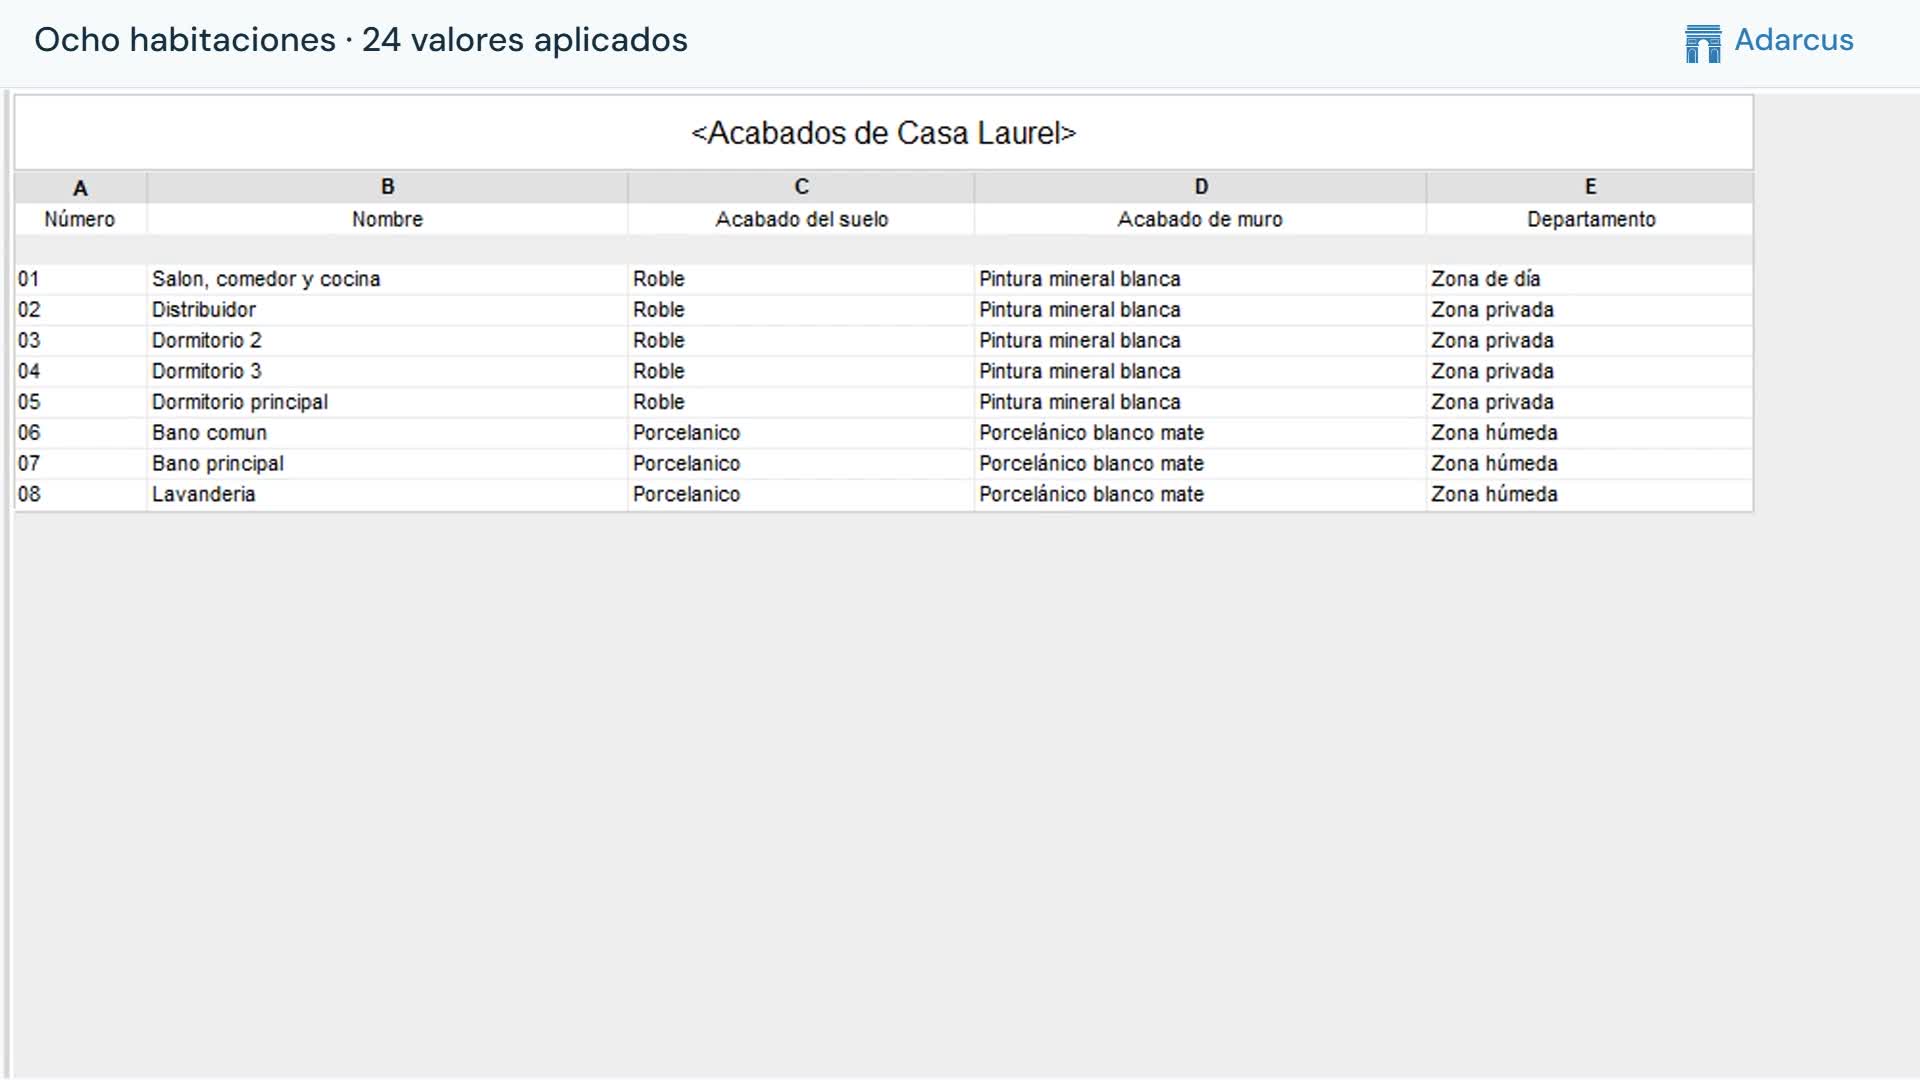
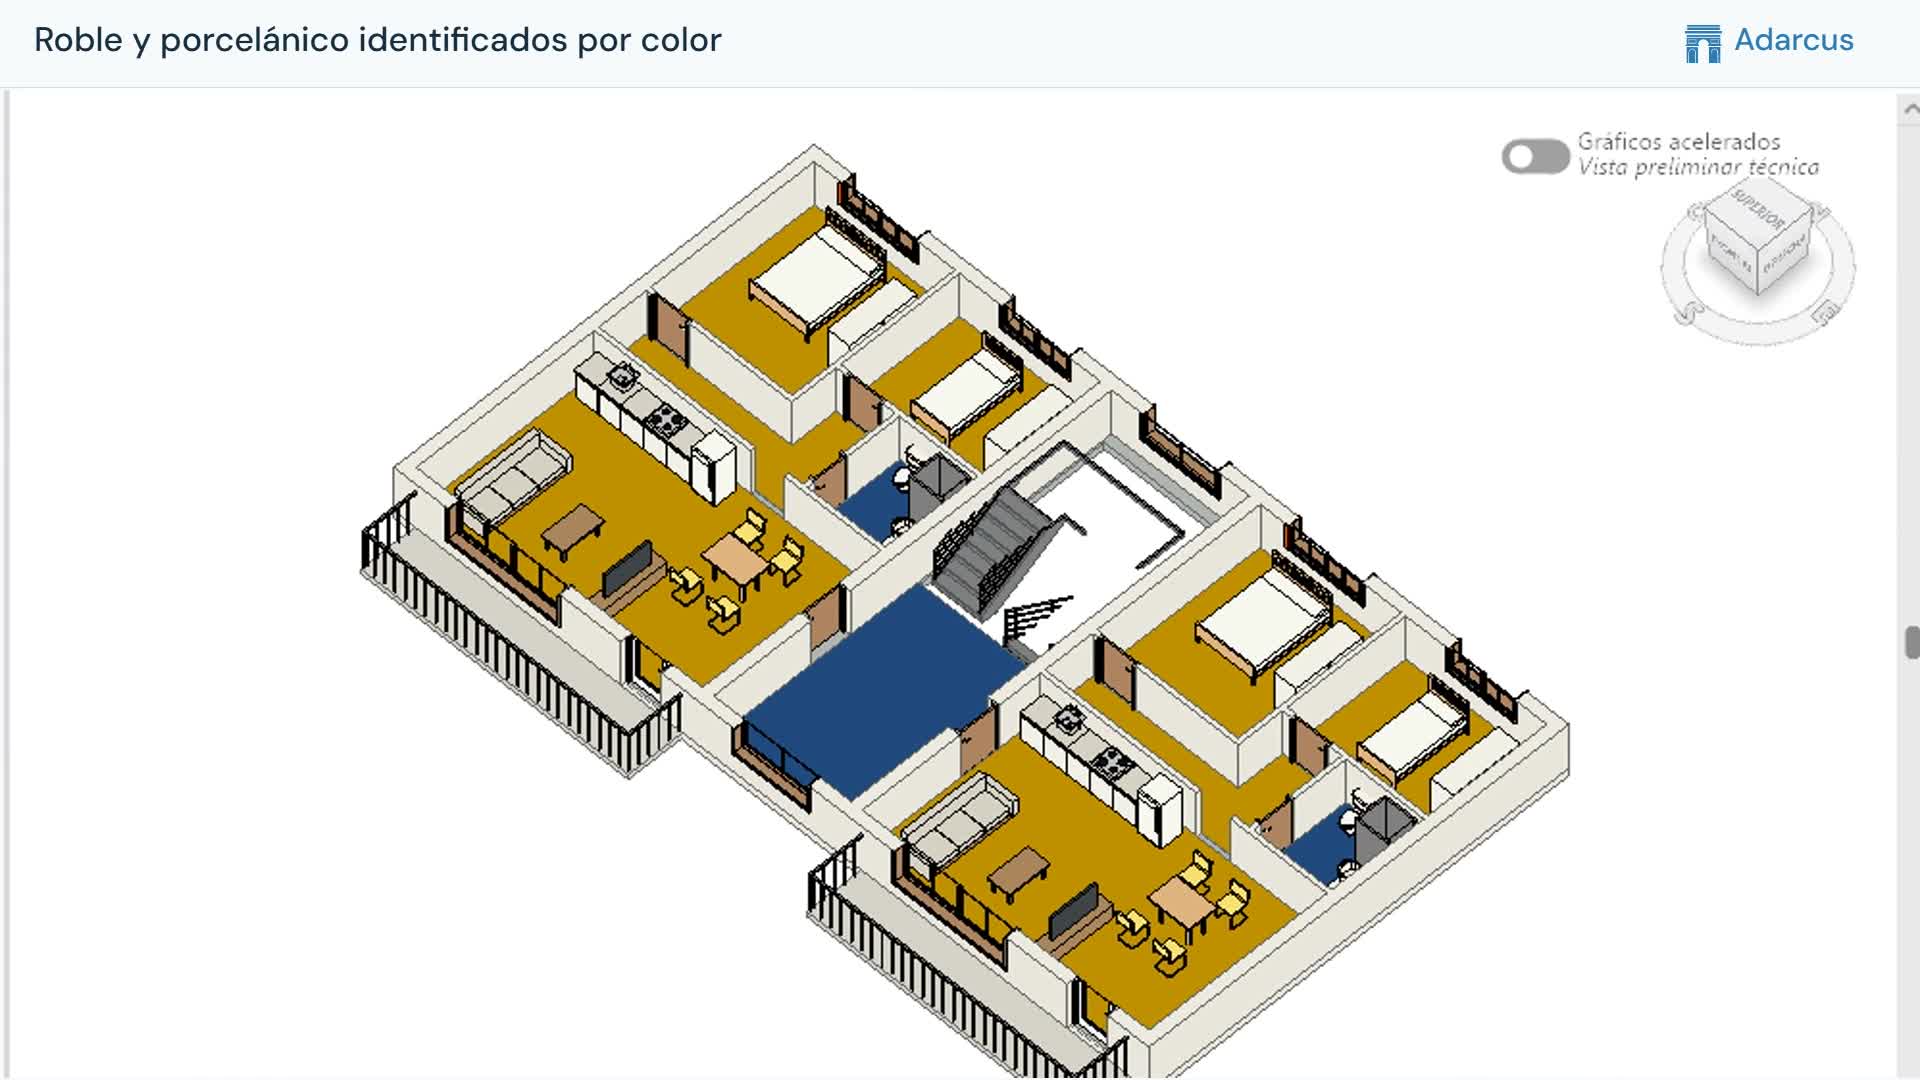
When you need to model floor finishes across several spaces, you can use room boundaries and define the finish type, thickness and elevation. Adarcus can apply those criteria to the set you specify. The example uses each room’s floor finish value to choose between two floor types.
What to ask Adarcus
Adapt names, scope and criteria to your project. This request summarizes the goal of the example.
Create floor finishes in the specified rooms using their boundaries and defined floor finish. Use the project types and the thickness and elevation I specify. Preserve existing slabs and avoid duplicates.
How the process works
Check the rooms
Confirm that room boundaries are closed and each room has a defined floor finish.
Define type and elevation
Match finish values to loaded types and specify thickness and offset from the level.
Inspect the floors
Review the floors in plan and 3D to check boundaries, types and junctions with existing elements.
Questions about this case
How is the floor type selected?
The room Floor Finish parameter is matched to oak and porcelain types already present in the project.
Does this replace the structural slab?
The request preserves the slabs and creates a separate finish layer. Check elevations to avoid unintended overlaps.
Want to see how this fits your project?
Book an Adarcus demo